Using Render Design
Transform sketches, CAD screenshots, or design images into high-quality architectural renders.
What is Render Design?
The Render Design tool transforms sketches, CAD screenshots, SketchUp viewports, or any design image into high-quality architectural renders. It gives you full control over prompts, image references, and output style to produce presentation-ready visuals directly on the canvas. This tool works with a wide range of inputs — from rough hand-drawn sketches to detailed 3D model exports.
Understanding the interface
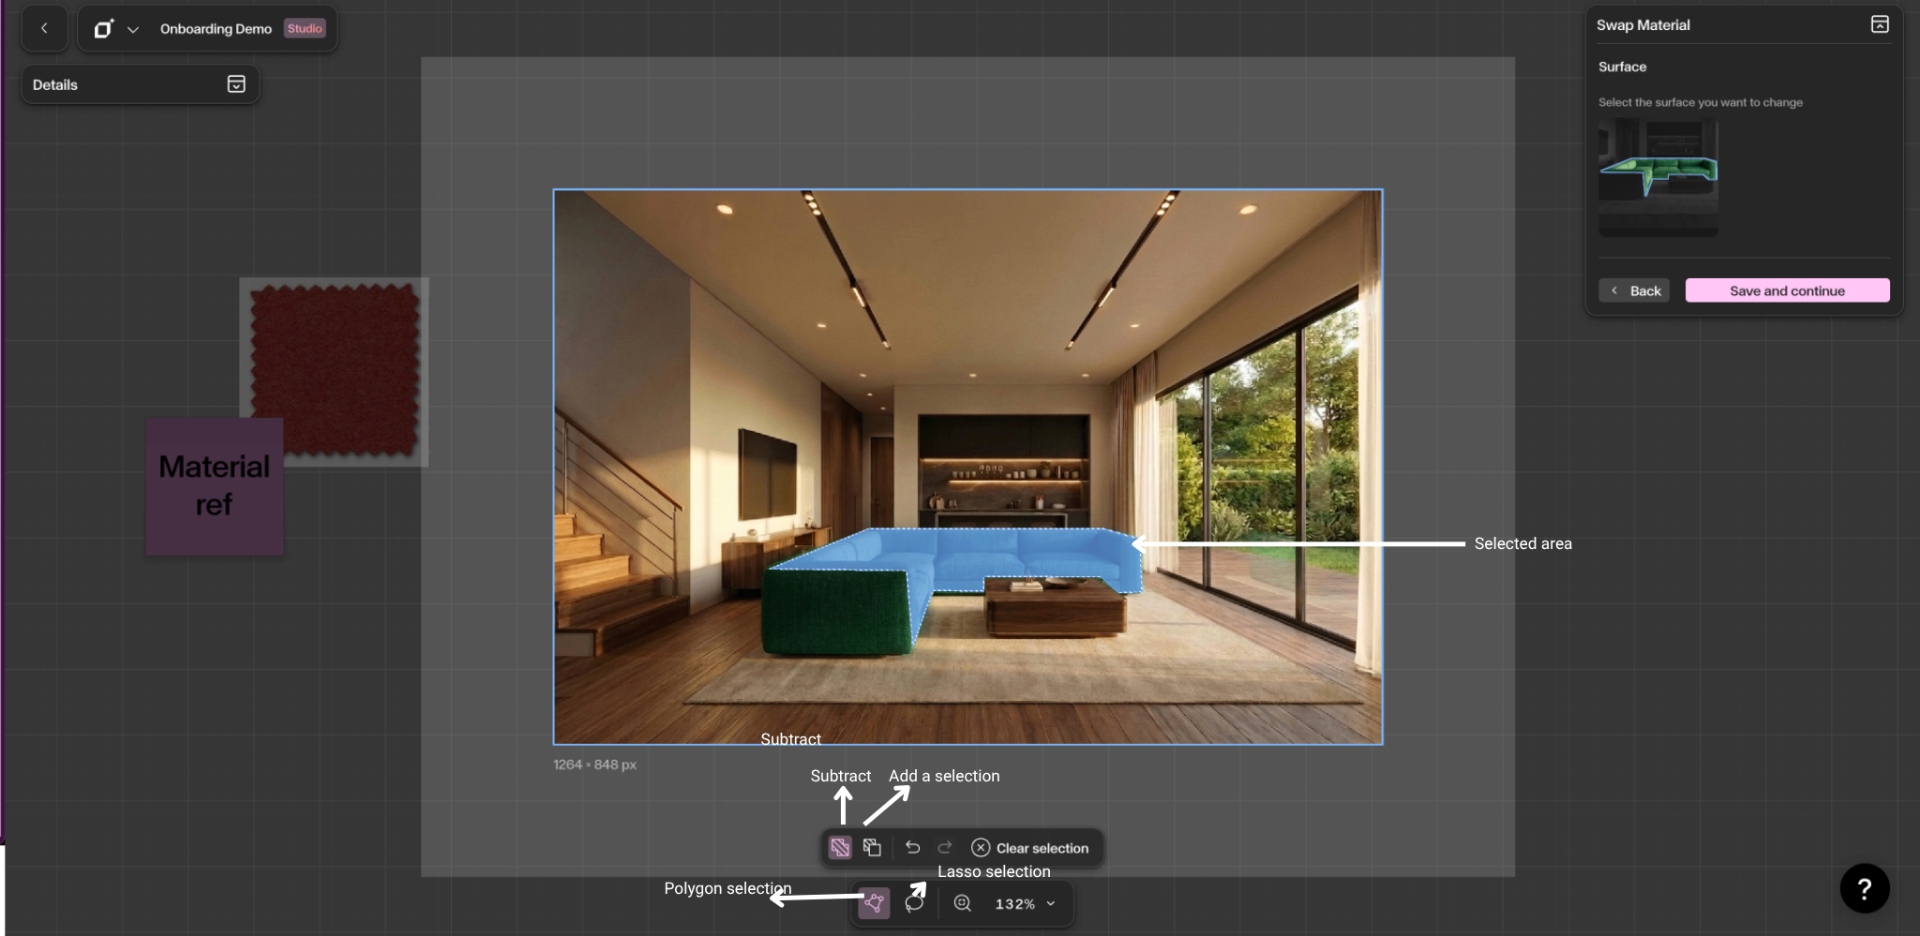
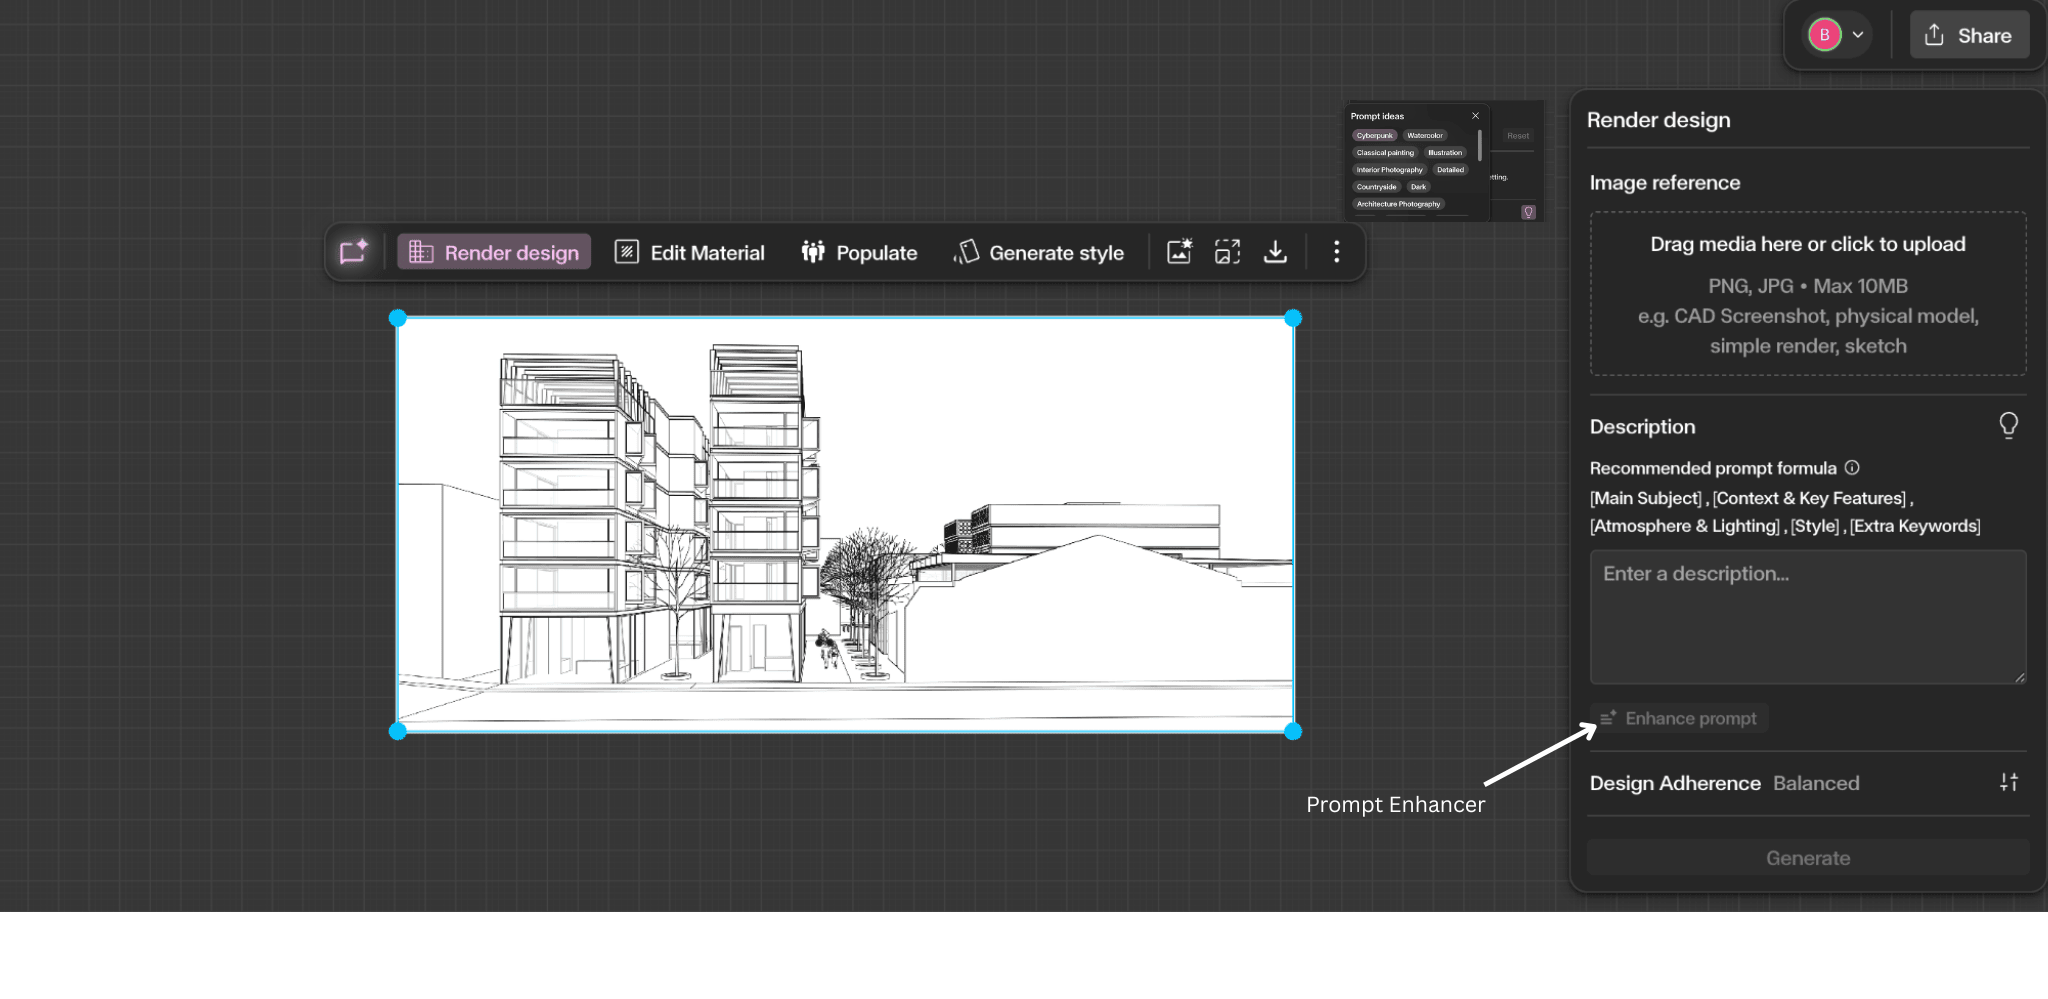
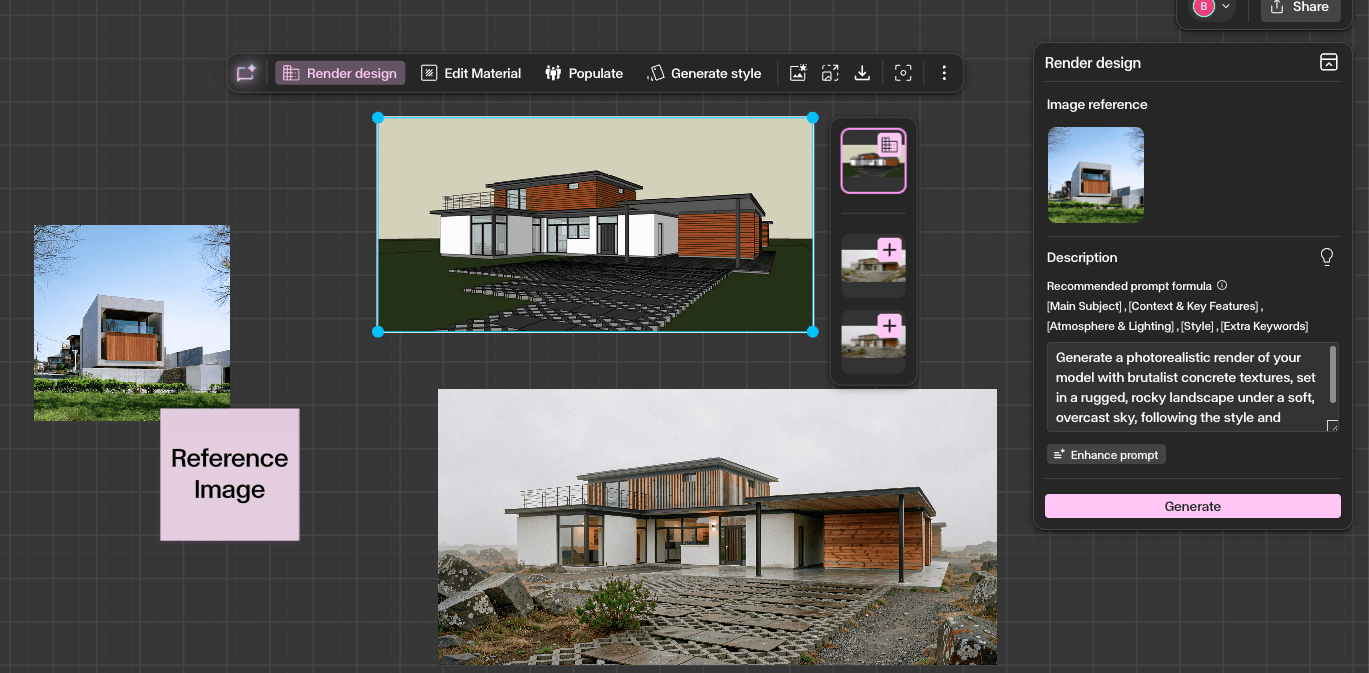
The Render Panel
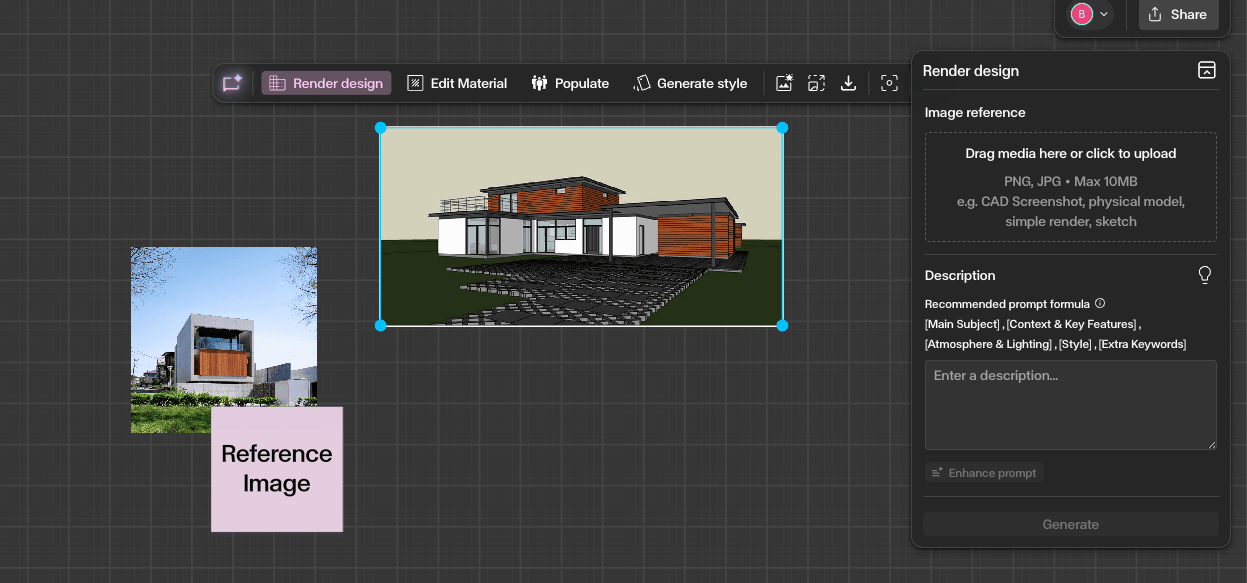
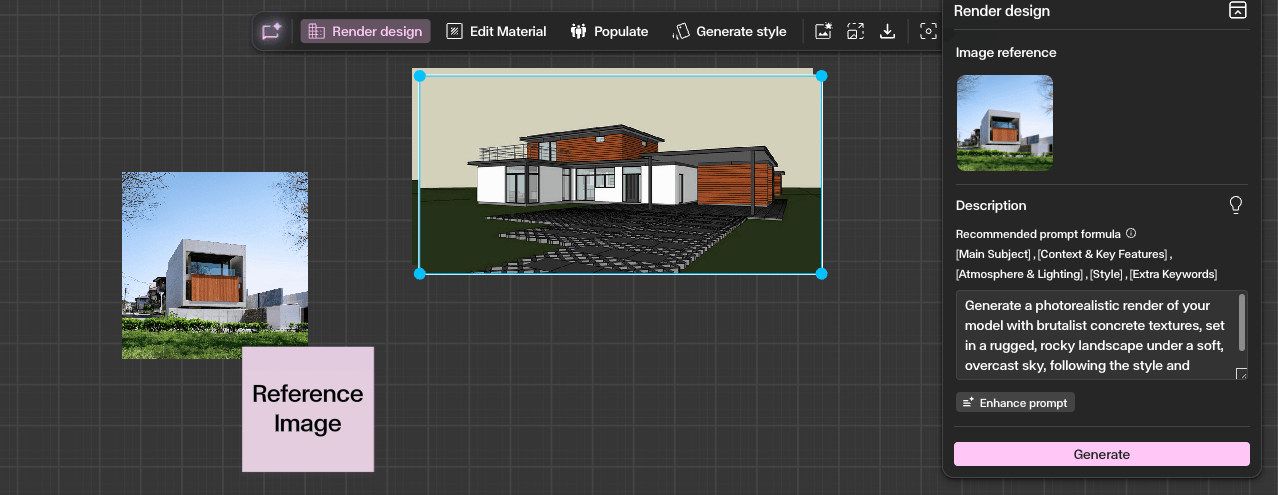
With your image selected, click 'Render Design' from the contextual toolbar or the right-hand panel. This opens the Render settings where you can control the output. The panel provides prompt input, image reference options, and style controls to shape your result.
Step by Step
Upload your base image
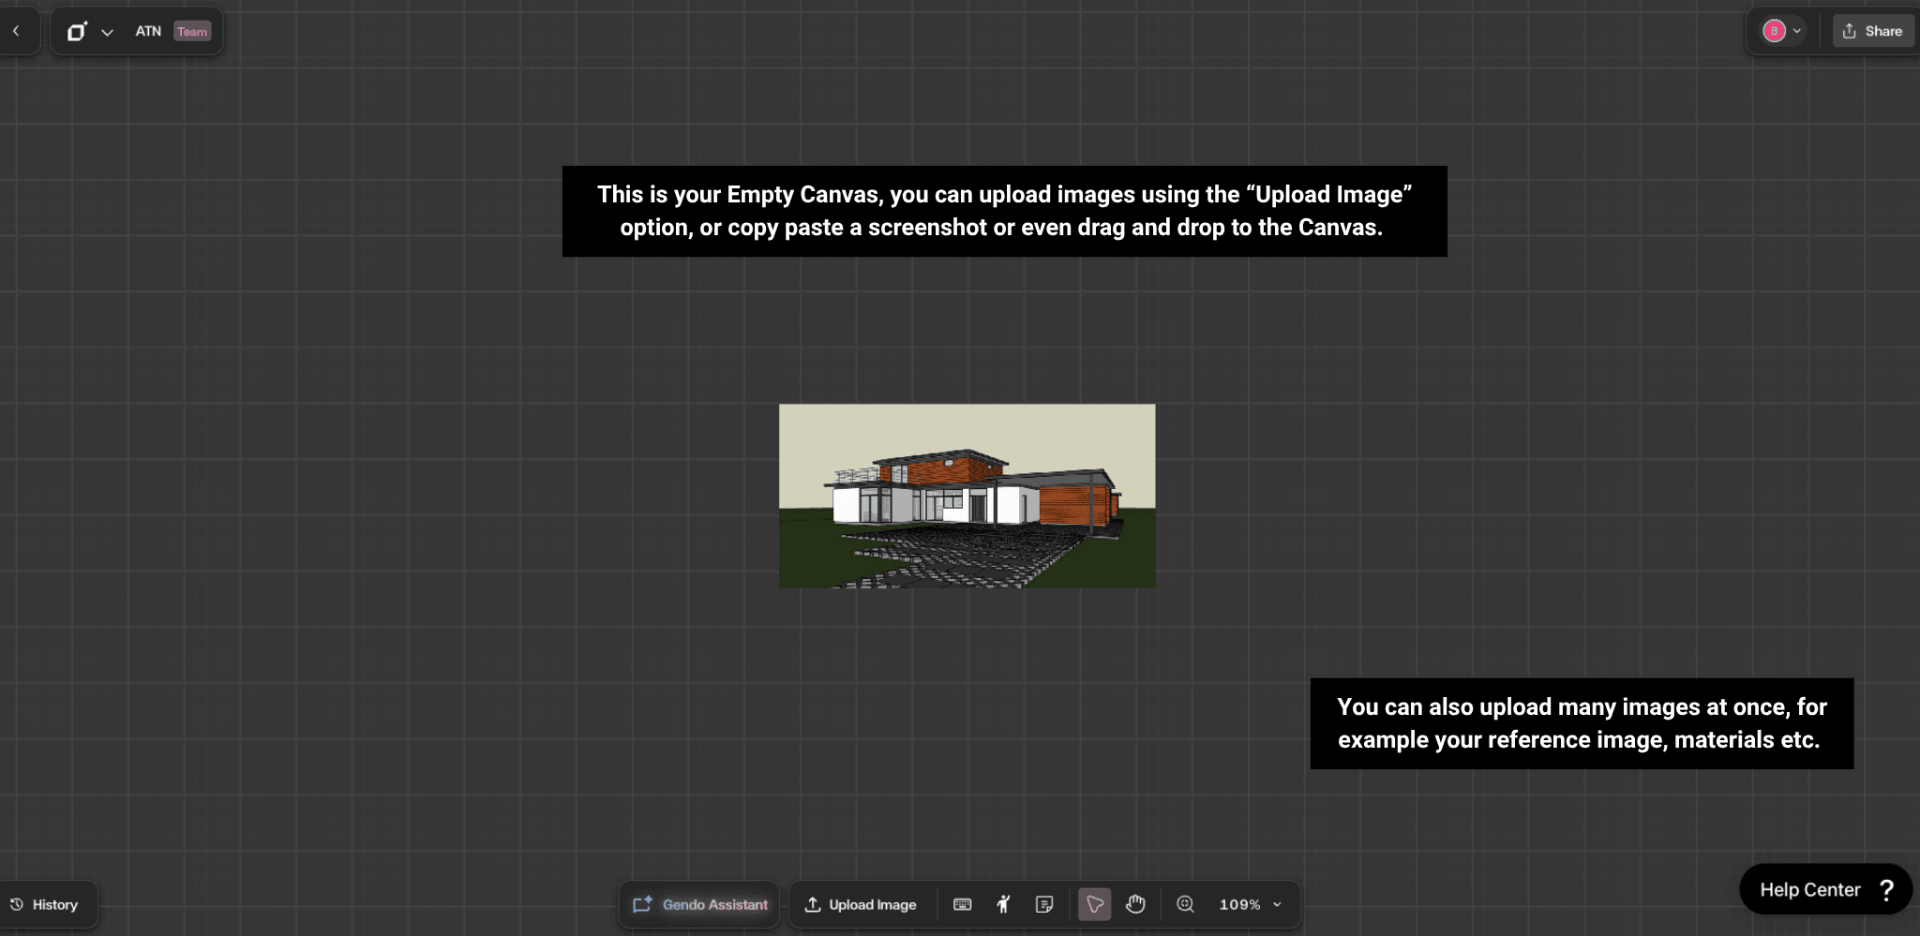
You can upload, copy-paste, or drag and drop one or multiple images at once onto the canvas. Place your sketch, CAD screenshot, SketchUp viewport, or design image — along with any reference images or materials you need. Select the image to activate the contextual toolbar.
Open the Render panel
Click 'Render Design' from the contextual toolbar to open the Render settings panel.
You must have your image selected for the contextual toolbar to be visible.
Write your prompt
Describe the scene you want to create. For example: 'A modern timber-clad residential building surrounded by mature oak trees, warm afternoon light, photorealistic.'
You can also use the Prompt Enhancement button to enhance your prompt, which usually outputs better results.
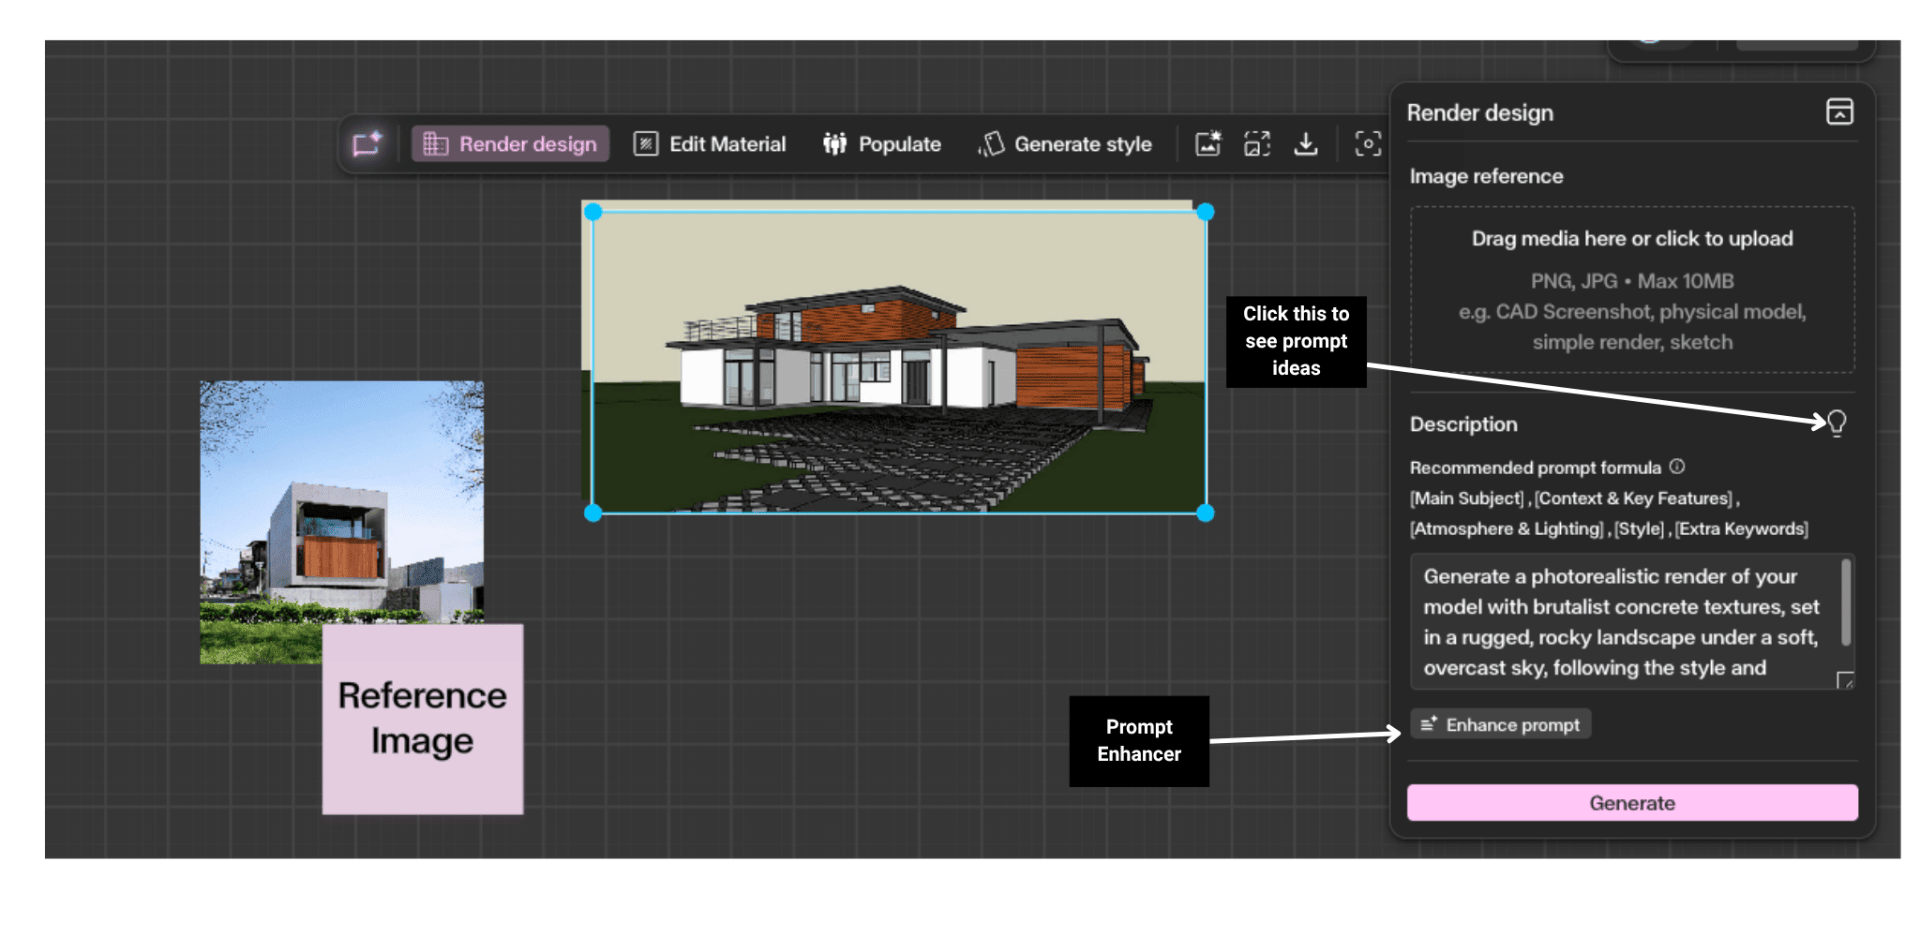
Add an image reference
Adding a reference image significantly improves the quality and accuracy of your renders. Drag or upload a photograph, material sample, or precedent image into the Image Reference area of the Render panel. This gives the AI a visual anchor for style, materiality, and atmosphere — resulting in outputs that are far more aligned with your design intent.
Generate and compare
Hit 'Generate' and your render will be produced in 10 to 40 seconds. Once complete, you will need to add the output to the canvas. Each generation produces two outputs — you can add both to the canvas, compare them side by side, and keep iterating until you achieve the result you are looking for.
Get Better Results
Add a reference image to anchor the AI's output to your intended style, materiality, and atmosphere.
Include material and lighting descriptions in your prompt for more controlled results.
Use the Render tool in combination with Enhance to further refine output quality.
Generate multiple variations and compare them side by side on the canvas.
Reference specific architectural styles or photographers in your prompt to guide the aesthetic.