Using the Enhance Tool
Improve the visual quality and realism of an existing image while preserving the original design.
What is the Enhance Tool?
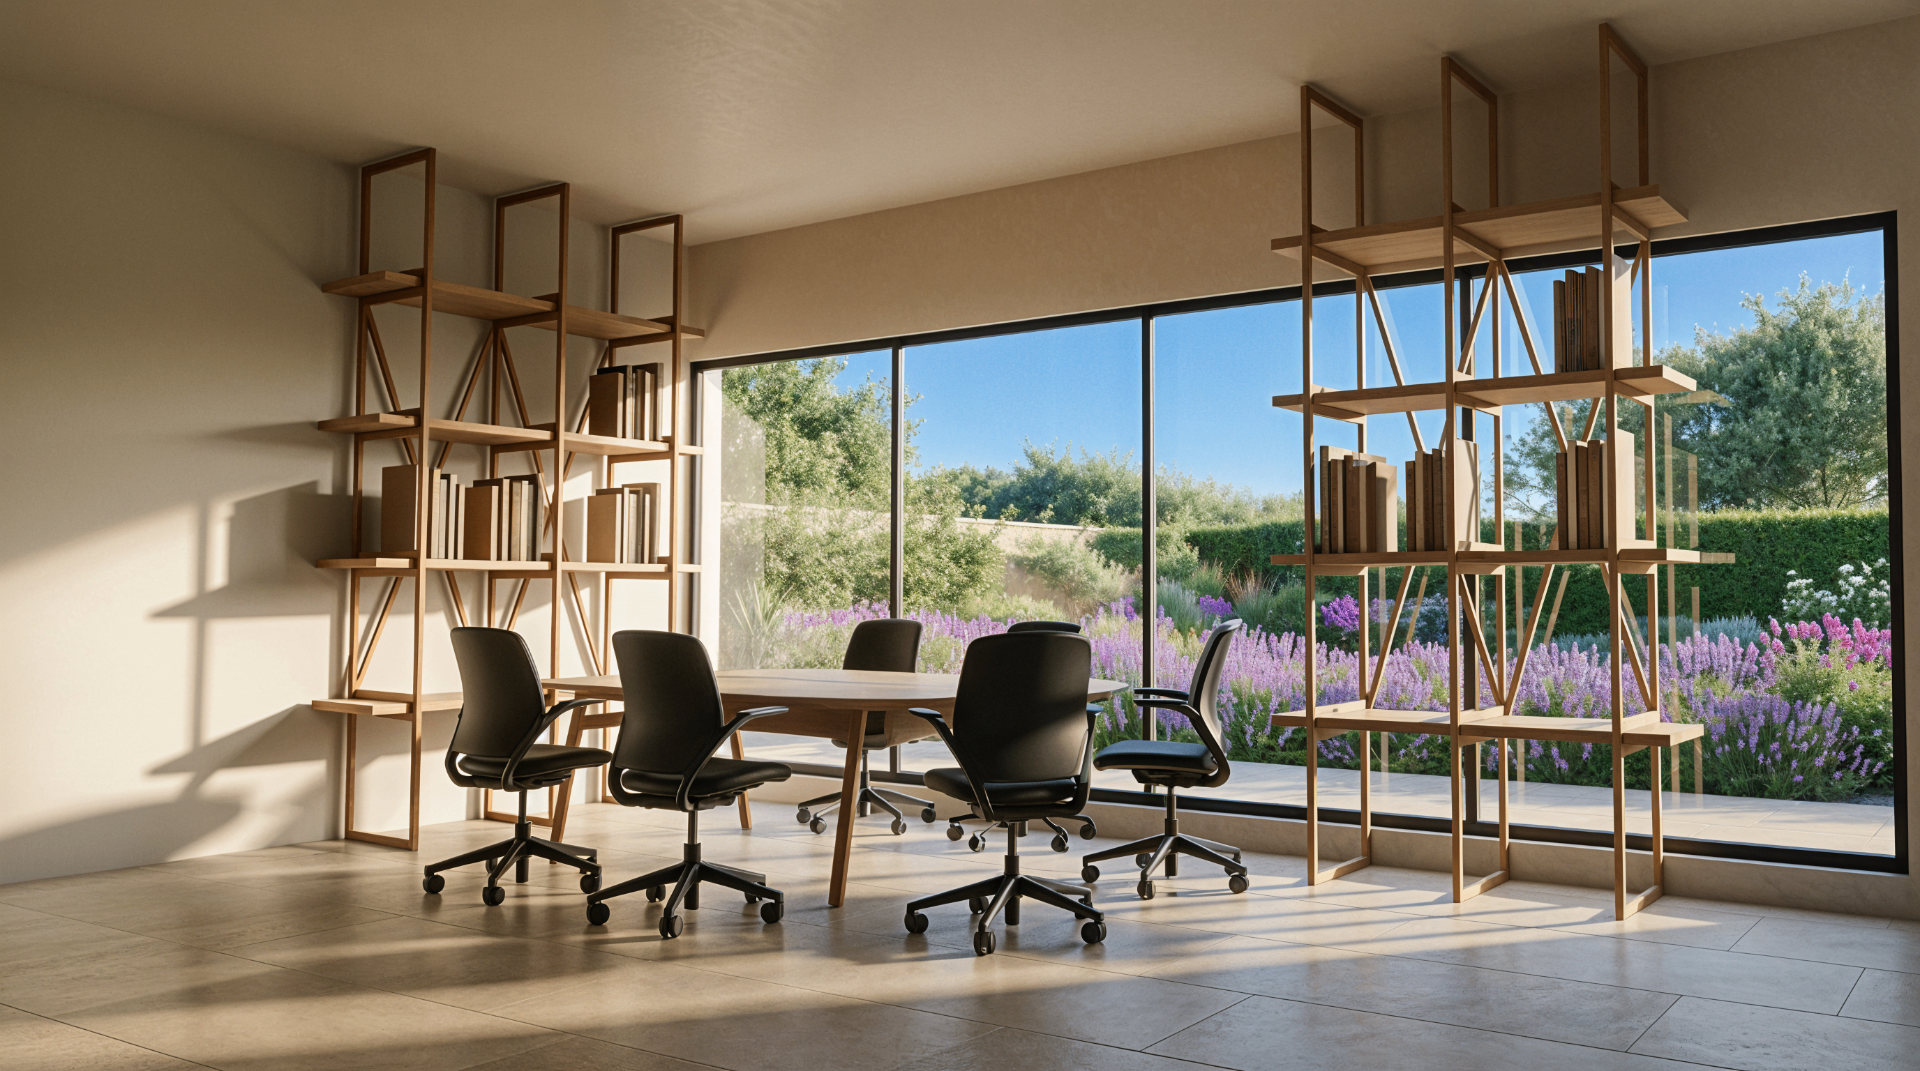
The Enhance tool improves the visual quality and realism of an existing image while preserving the original design and composition. It refines details such as texture quality, lighting clarity, material realism, and overall sharpness. Enhance is typically used after a render has already been generated, allowing you to upgrade the visual quality without changing the architecture. This is useful when preparing final presentation images or refining a render before export.
Understanding the interface
Understanding the Interface
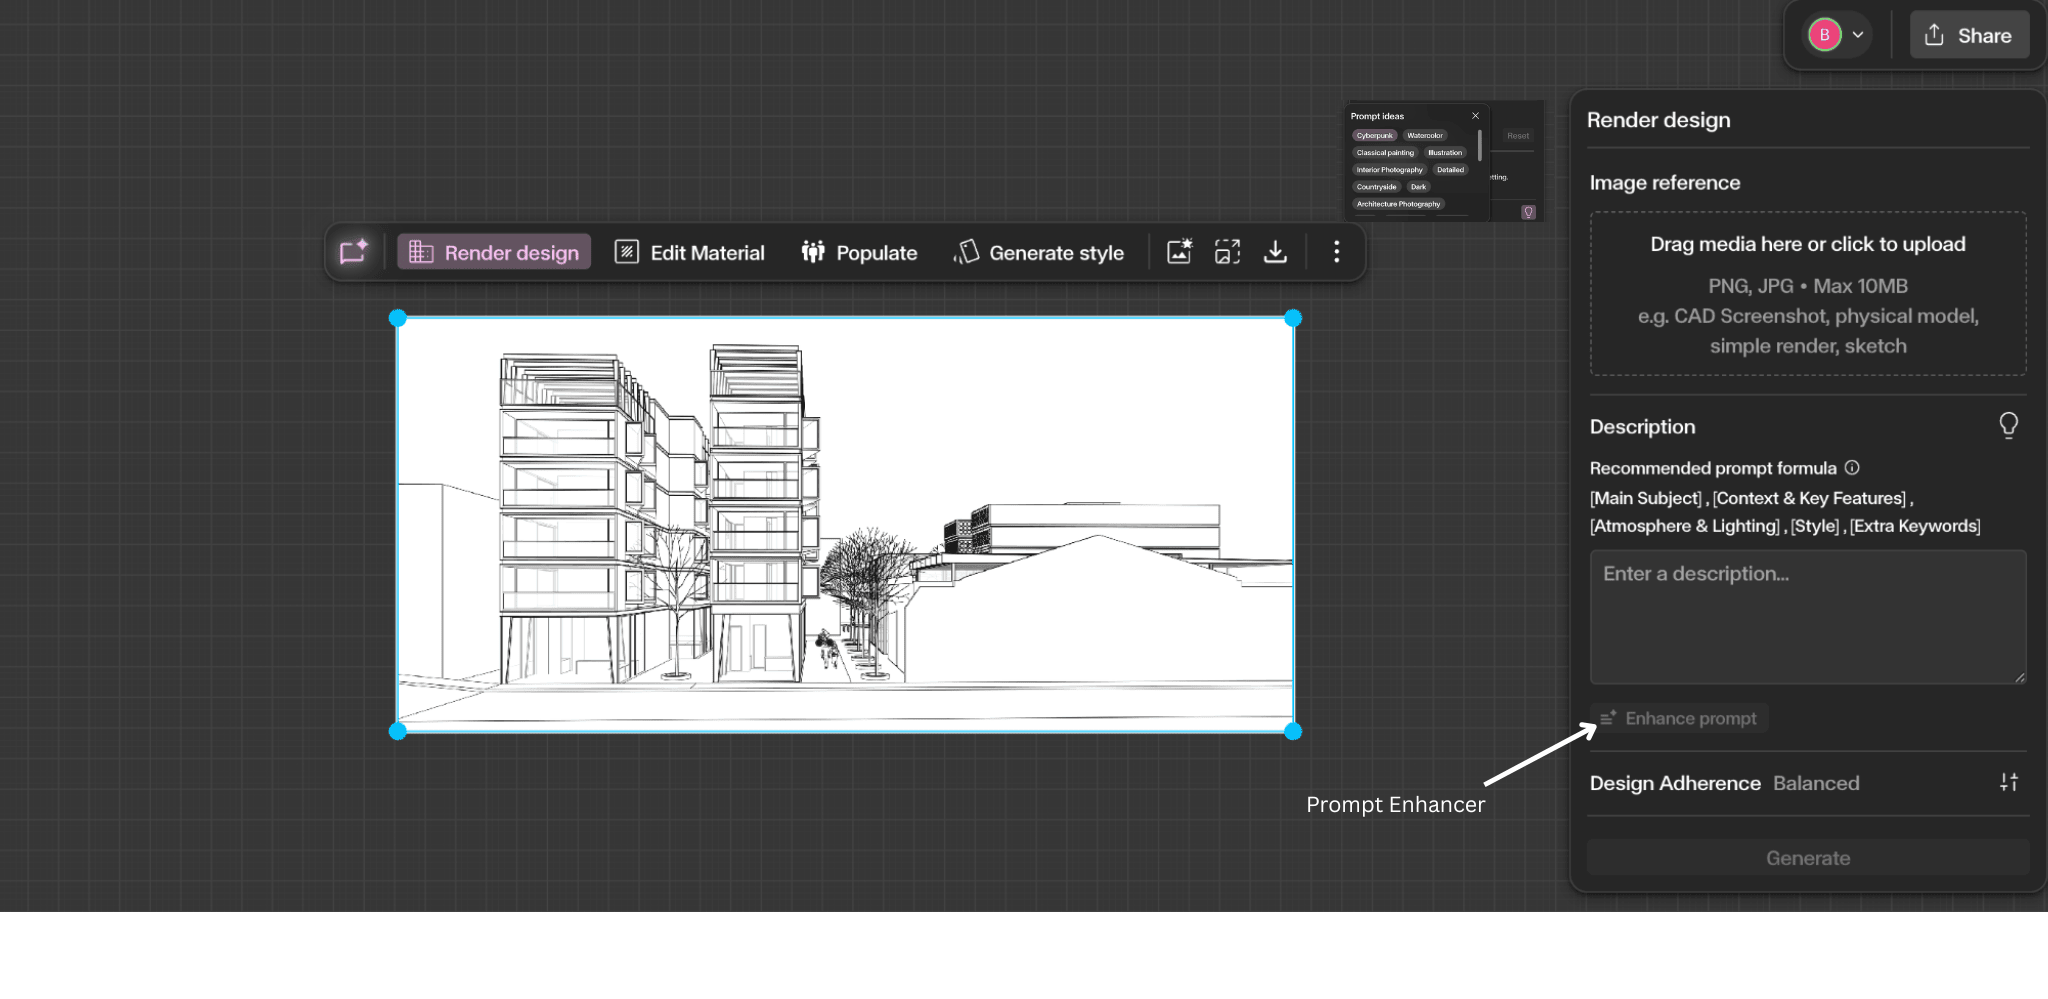
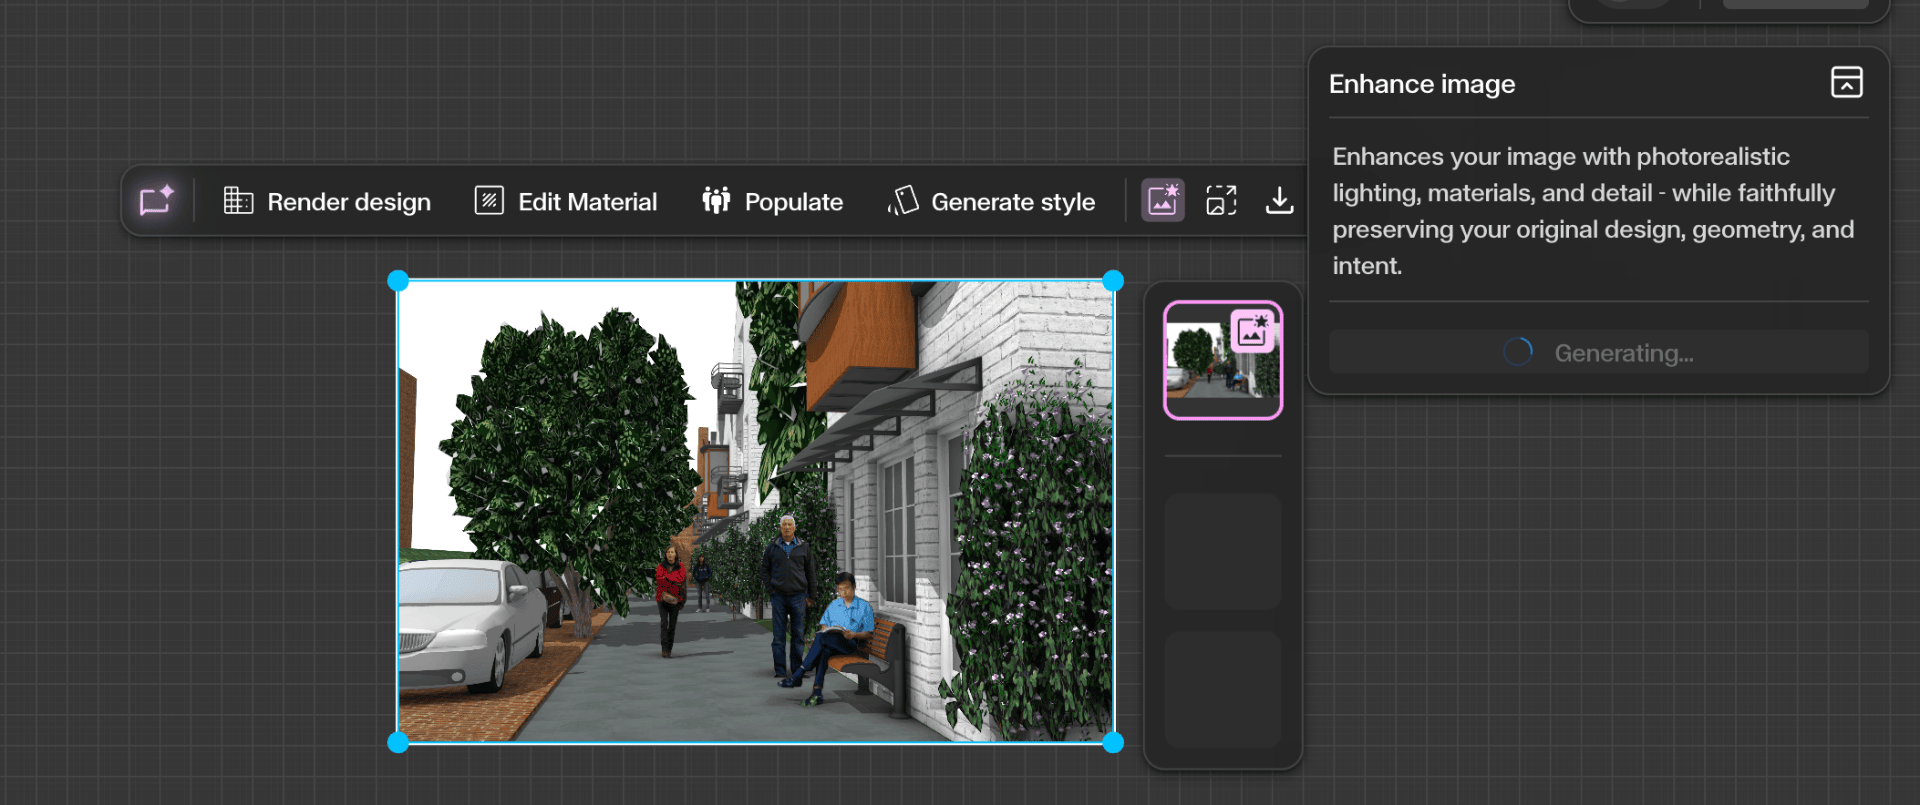
To use the Enhance tool, select an image on the canvas. A contextual toolbar appears above the image — click the Enhance icon (next to the Generate Style icon) to open the Enhance panel on the right side of the canvas.
Step by Step
Select your image and click Enhance
Click on an image on the canvas. The contextual toolbar appears above it. Click the Enhance icon to open the Enhance panel on the right.
Generate and add to canvas
Click Generate. Gendo processes the image and produces an enhanced version with improved visual quality. The result appears as a new asset on the canvas.

Get Better Results
Apply Enhance after rendering, styling, or material edits are complete.
Run Enhance multiple times to compare variations.
Use a prompt to guide specific improvements such as lighting or texture detail.