Getting Gendo Right: Consistency & Control — Lessons from Settle's Frame Project

Joe Sherman
24 July 2026
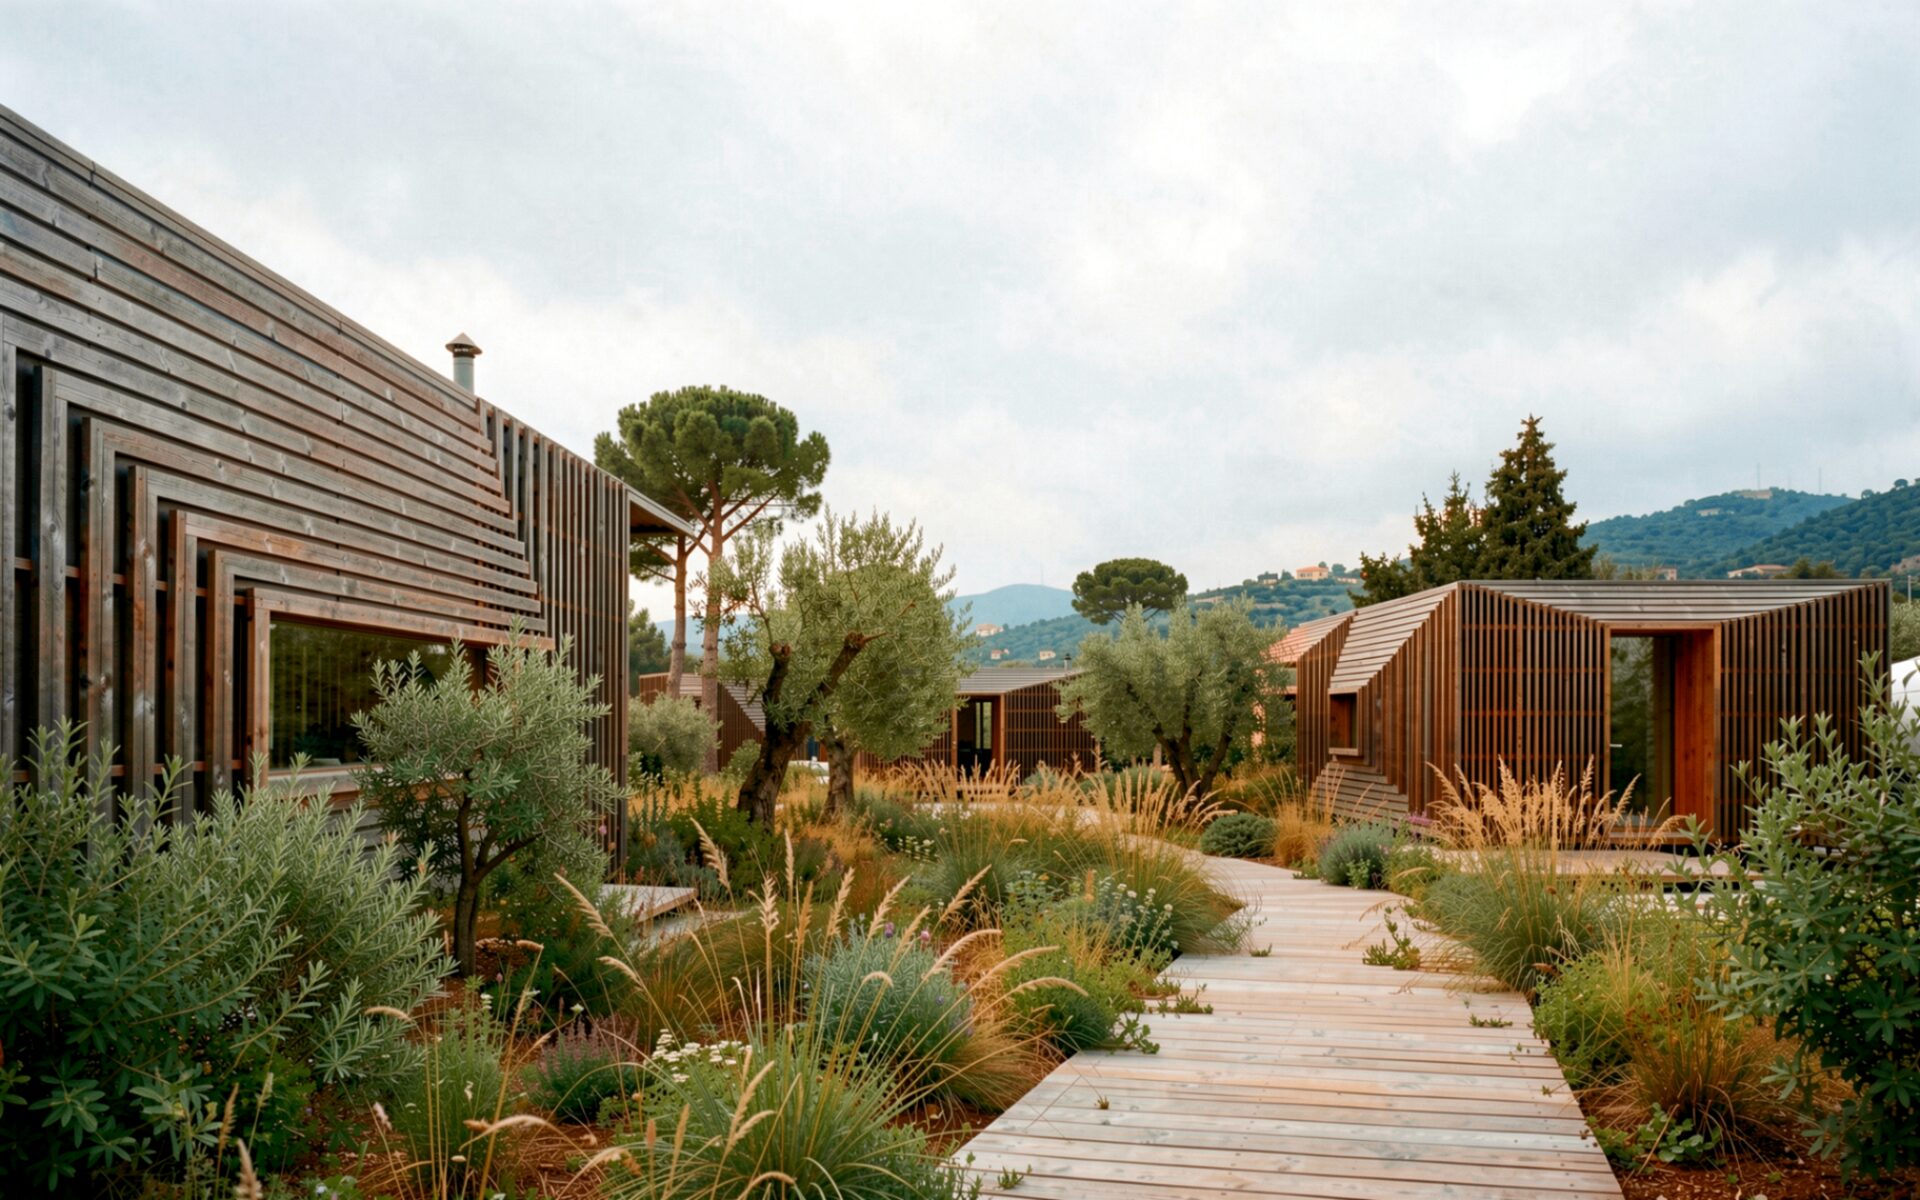
Two questions come up more than any other from architects using Gendo: how do you hold a design steady across different views, and how do you stop the model changing things you didn't ask it to? A third follows close behind — how do you keep image quality intact after ten, twenty, fifty edits?
We ran a live workshop to answer them, with George, Will and Ismail from the Gendo team joined by Edward Meyers, co-founder of Settle. Edward and his Co-founder Andrew used Gendo across a full competition stage for the studio's Frame project in Sicily, replacing an Unreal Engine and Photoshop workflow and cutting visualisation time by roughly 80% per image.
The session opens with the fundamentals for anyone new to Gendo, then moves into advanced techniques for maintaining consistency, controlling outputs, and producing presentation-ready imagery. Every demonstration is run on a shared canvas you can explore alongside the workshop here.
As Ismail framed it in the session, the workshop was built around the questions architects actually ask:
- How do I keep consistency across different views?
- How do I stop Gendo changing things I didn't ask for?
- How do I maintain image quality after multiple edits?
- How do I bring Gendo into my process from day one?
The answers turn out to be more about workflow discipline than prompting tricks.
Why consistency is the hard problem
A render that looks stunning on its own isn't worth much if the next view of the same building shifts the fenestration, wanders the roofline, or forgets which timber you specified. Holding a design steady across views, across iterations, and across a whole project stage is what makes an AI tool something a studio can present to clients and planning committees rather than a one-off.
Settle's Frame project
Edward and co-founder Andrew Friedenberg run Settle, a two-person studio focused on small residential and cabin work that sits carefully in its landscape. Frame was their competition entry for Open Air Suites, a hotel client after a prototype cabin it could roll out across sites in Italy — Sicily, Tuscany, the Alps — while responding to each location.
The brief was tight: a 4.5 × 5.5m footprint, two cabin variants, buildable, affordable, and rooted in a specific site under Mount Etna. The timeline was tighter — four to five weeks end to end, with the final week and a half spent on imagery.
"If we didn't have Gendo, it would have been another two or three weeks of image rounds," Edward said. "The lighting alone in Unreal takes a day per image to get right. On image time, we're saving about 80%."
The bigger change was to the process itself:
"Instead of front-loading the design and end-loading the image, we did design, image, design, image. We got to accurate, near-final images far earlier, which gave us more time to think about the nuts and bolts of the design."
That loop only works if the images stay consistent enough to trust.
The exterior board
The board Edward walked through in the session is worth exploring — you can pan, zoom, and see the SketchUp source screenshots alongside every iteration.
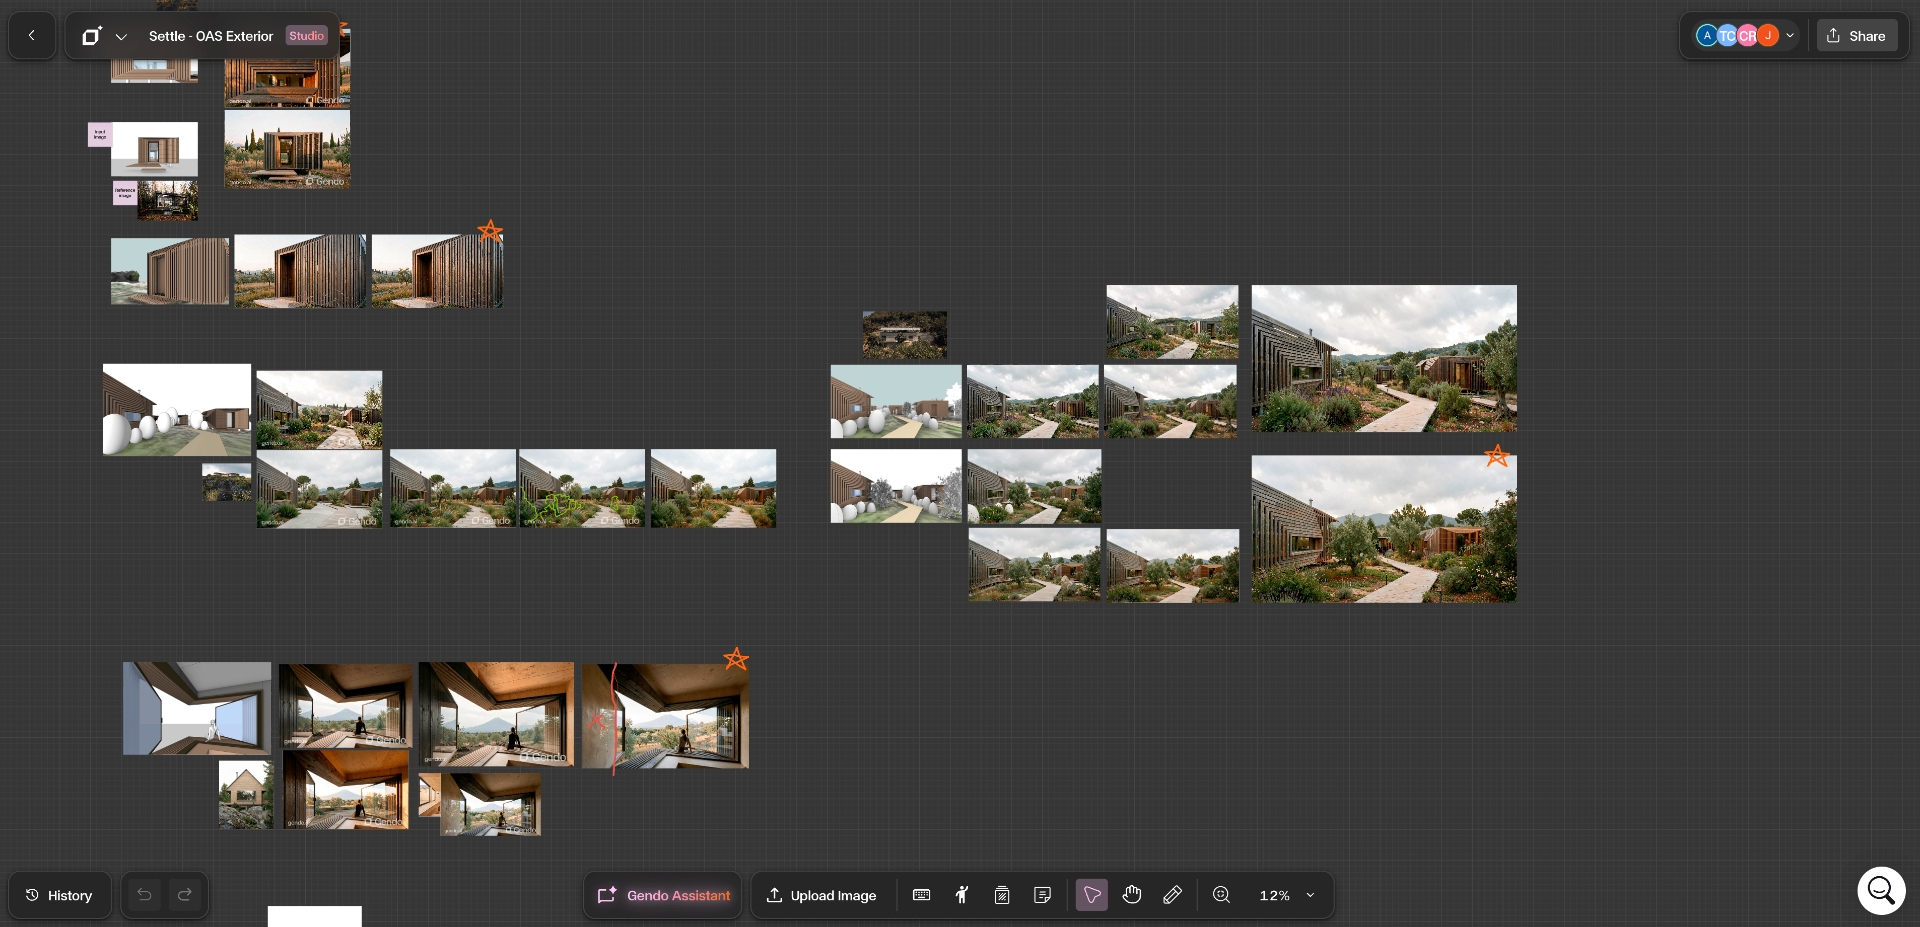
A few things to notice:
- The base model is deliberately simple: massing, indicative landscape, a runner path, captured as a Rhino or SketchUp render-mode screenshot. Not a finished 3D scene.
- The first strong exterior image took four iterations, with no Photoshop passes.
- The interior board uses light Enscape material passes only to guide Gendo on plywood, basalt and brass — not to render the final image.
- Prompts are short and repeated. "Utilitarian, Mount Etna, Mediterranean" runs across most generations to hold the project's identity.
Five things Settle did to hold consistency
1. Build a small library of project prompts and reuse them everywhere
Edward's team wrote a short set of phrases — location, atmosphere, materiality — and pasted them into every generation.
"It was always the same few words: utilitarian, Mount Etna, Mediterranean. Every image, we put that in to keep the style. It cut out the Photoshop step of adding the same filters and masks to make everything match."
A shared vocabulary does more for cross-view consistency than any amount of per-image tuning.
2. Prompt with intent, not decoration
Edward called the urge to over-describe every image "prompt anxiety." His principle:
"Be as descriptive as possible without being over-descriptive. There's a level that's enough, too much, and not enough. Your reference images need to be on point."
Two or three well-chosen references beat a paragraph of adjectives.
3. Model just enough — but model it well
Settle used two levels of input: Rhino render-mode screenshots for exteriors, and light Enscape passes with mapped materials for interiors, where materiality mattered most.
"Gendo reads the geometry. It knows a door frame is about 2 by 4, reads it as a door, and adds hardware you never prompted."
Detail comes out of your source model, not your prompt. Under-modelled inputs invite the model to invent.
4. Use real-life references, not other renders
"We used real-life references as much as possible rather than other renders. There are rendering companies that bring images to life as an art form, but we were going for a real-life output."
For a project meant to feel grounded in a place, photography carries the mood more honestly than another studio's render style. Once you find references that you like, you can reuse those images — or previous renders from the same project — across your generations to hold a consistent aesthetic.
5. Iterate fast — the patterns will reveal themselves
Edward's advice to first-timers was blunt:
"Just dive in. Set up your models as well as you can in the time you have, and go. You'll find the patterns that get you consistency and control. You can produce these images in ten minutes."
The workflow becomes reliable through reps, not study.
Control: stopping Gendo changing what you didn't ask it to
Consistency across views is one problem. Control within a single edit is another — and it's where general AI tools tend to burn architects, regenerating half the image when you asked for one material to change. Two points from the session:
- Match the tool to the change. Broad moves like "make it dusk" or "add rain" belong in a standard edit or restyle. Precise, geometry-preserving changes — "swap this floor to terrazzo but keep the sofa exactly where it is" — belong in Edit Material, which is built to hold the existing scene.
- Work from your source, not the last output. On the canvas, every variation branches from a pinned source image rather than the previous generation. That's why five material tests of the same elevation stay coherent instead of drifting further with each round.
Image degradation: the fix, shown live
Iterate on the same picture too many times and quality quietly collapses — textures muddy, edges soften, colours shift. The team ran a side-by-side of the same prompt against Nano Banana and against Gendo's updated pipeline.
On the Nano Banana side, by the third or fourth iteration the background vegetation muddied, brick coursing softened, and the overall tone drifted. On the Gendo side, the update held tone, resolution and detail much closer to the source across the same edits, and kept changes to the area intended rather than repainting neighbouring parts of the image.
The practical result: you can test five, ten, twenty variations of a scene without having to restart from the original render every few edits. This is also where Project Memory — coming soon — fits in: persistent context that carries brief, references and style choices across every generation, so consistency stops depending on discipline alone.
Applying it to your next project
If there's one takeaway, it's this: treat consistency and control as workflow decisions, not model decisions. In practice —
- 1.Write your project prompt once: three to five phrases for location, atmosphere and materiality. Paste them into every generation.
- 2.Pin your source image and branch every variation from it, not from the last output.
- 3.Model with intent. A slightly better base earns back hours of prompt-fighting later.
- 4.Match the tool to the change: Edit Material for material swaps, Restyle for mood, Edit for local geometry.
- 5.Build a reference library as you go — real photography for real-feeling projects.
Also new this session
Alongside the degradation fix, the team walked through a few smaller changes: generation details in the history panel (every generation now records the feature, input image, references and prompt, so you can click into any past image and reuse them), a lighter UI refresh across the render, restyle and edit panels, and Custom Styles coming soon — save a look developed on one project and apply it across future renders.
The workshop ran an hour; the full Frame walkthrough — every stage, every workflow decision — lives in the case study.
Read the full Settle case study, or try Gendo free and start your own consistency-and-control workflow today.
Related Articles
The Multiplayer Canvas for Architects: Gendo vs Figma and Miro for Design Reviews
Read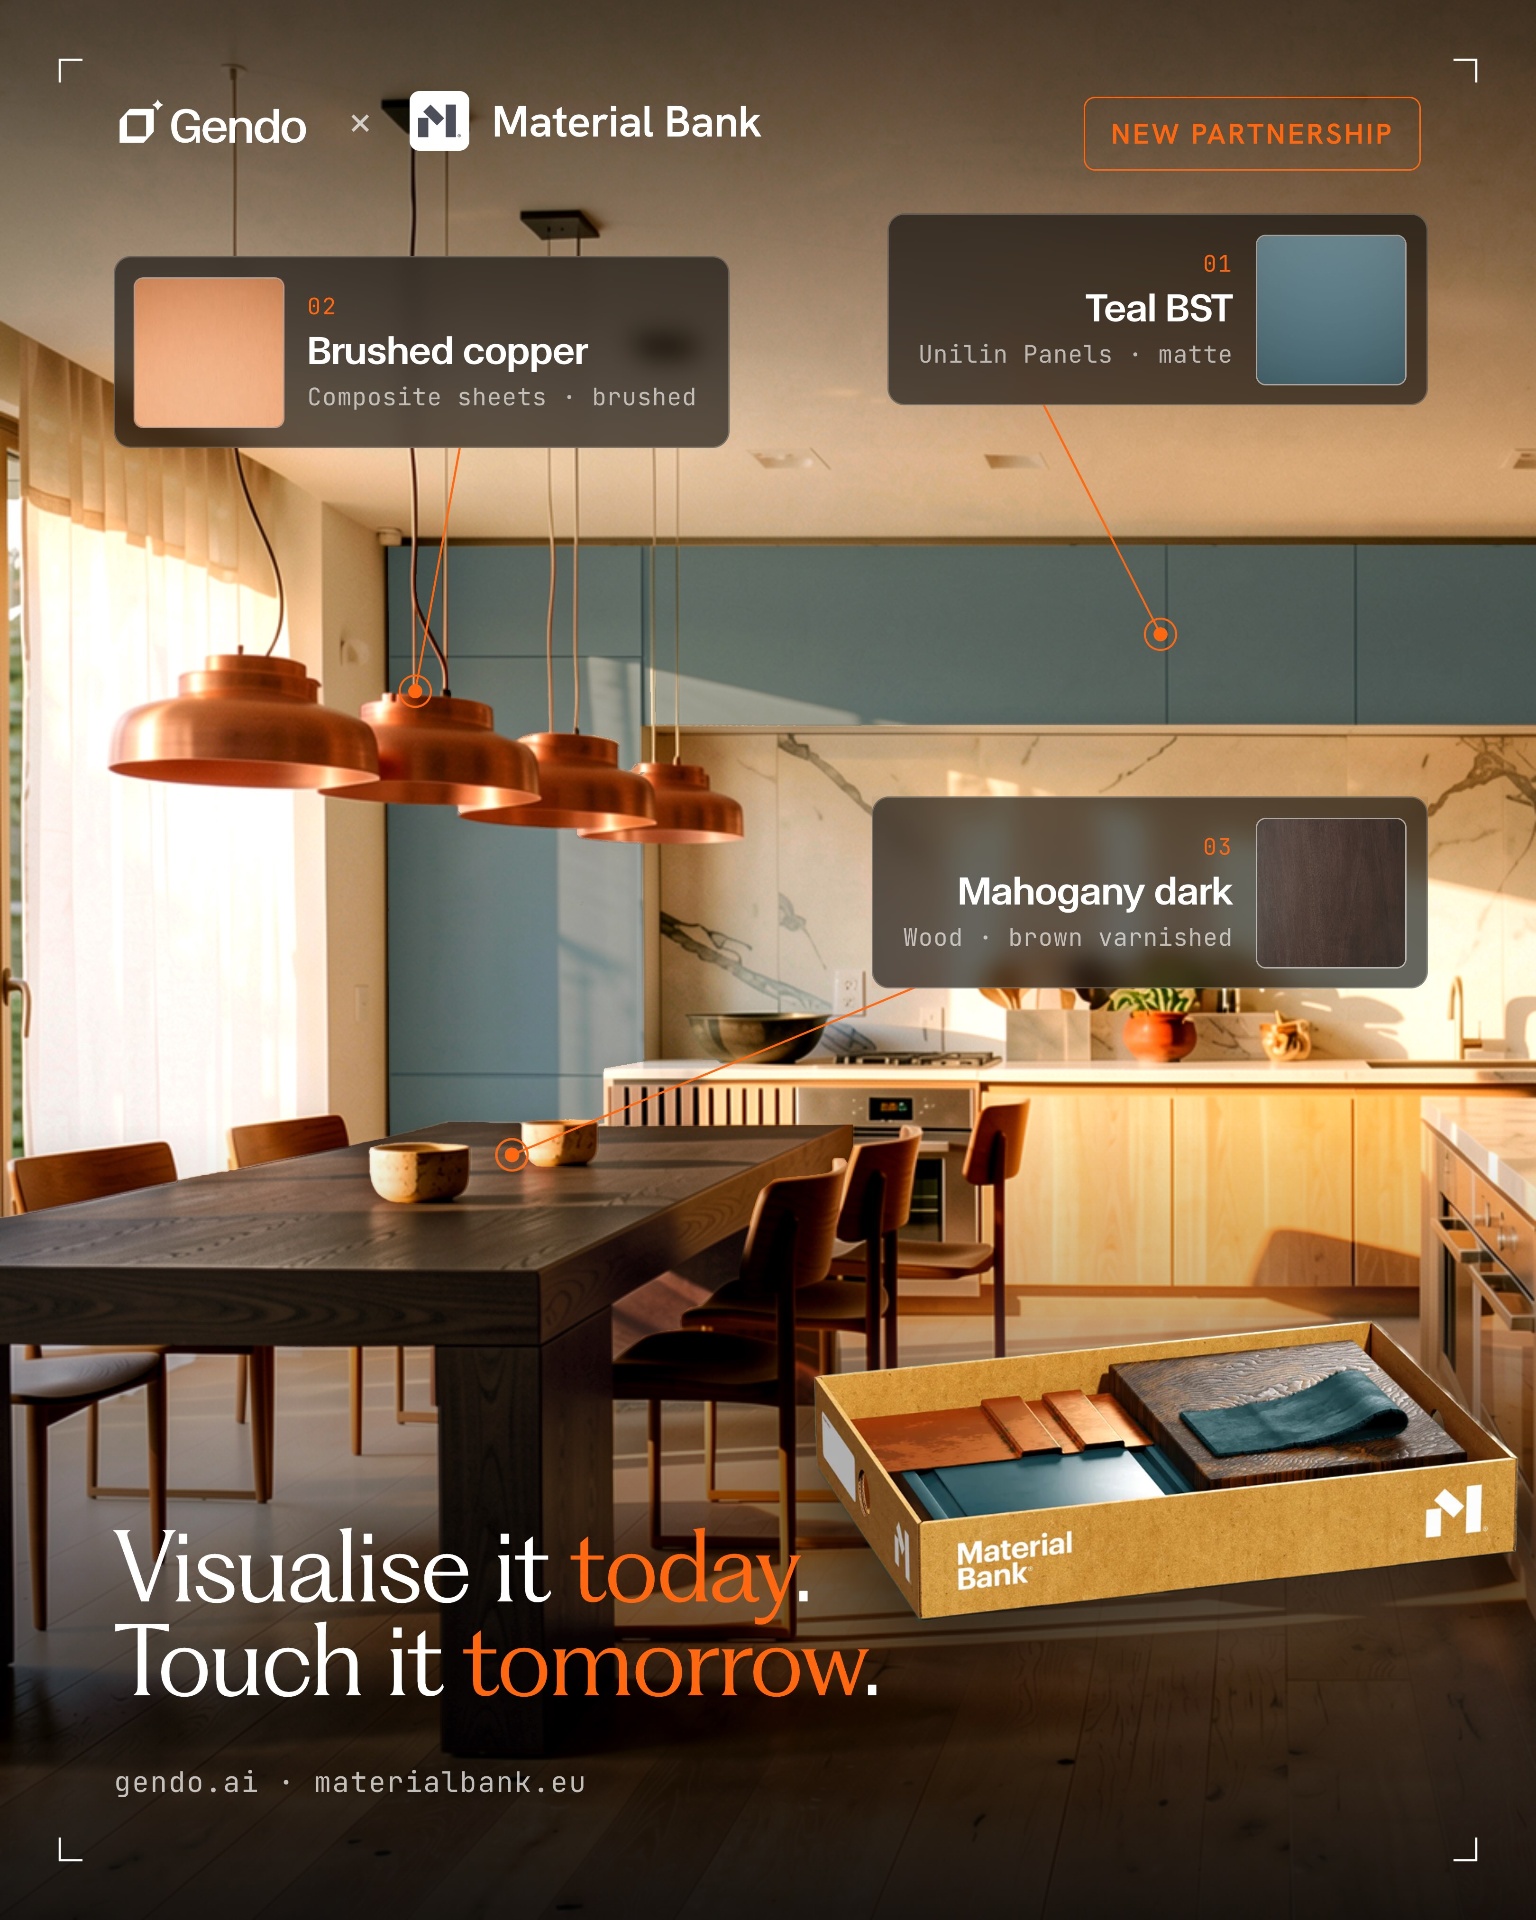
From Render to Reality: How the Gendo × Material Bank Partnership Is Closing the Gap Between Design and Specification
Read