From Sketch to Render
Transform a rough sketch or massing model into a compelling architectural visualization.
From Sketch to Render
This workflow guide walks you through taking a rough sketch or massing model and transforming it into a compelling architectural visualization. It is ideal for early-stage client presentations where you need to communicate design intent quickly and convincingly, without investing in full 3D modelling or traditional rendering workflows.
Understanding the interface
What you need to get started
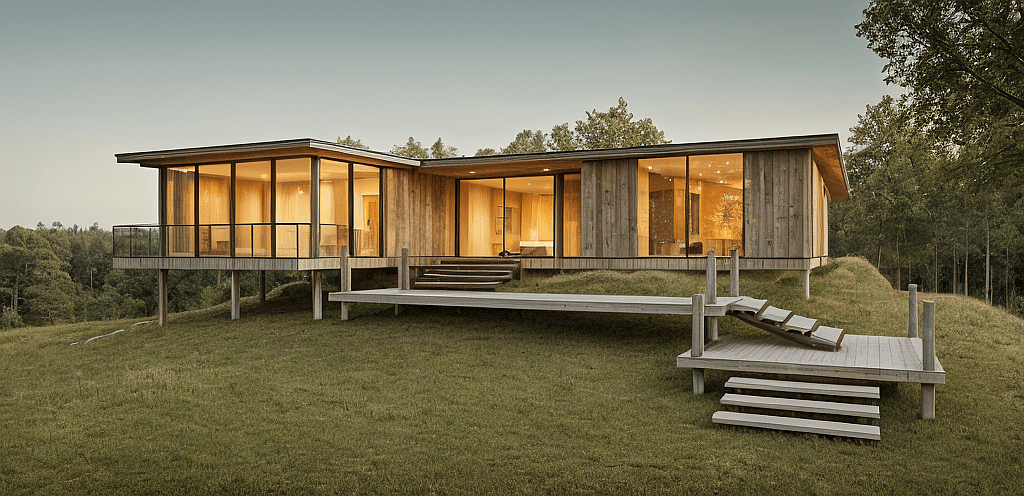
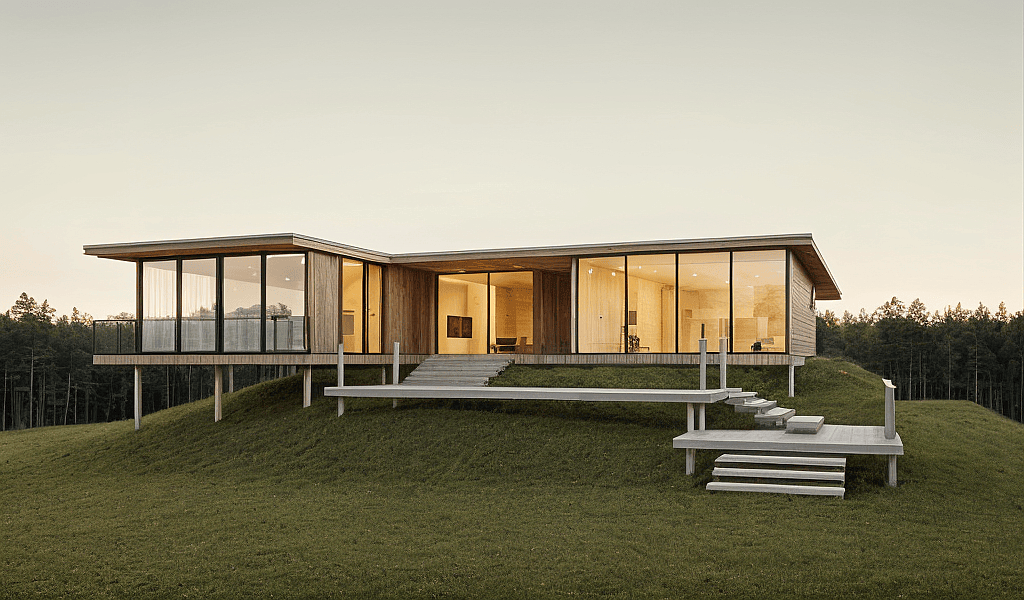
You can start with a hand-drawn sketch, pencil study, simple massing diagram, or a site photograph as reference. Gendo interprets rough concepts — proportions, massing, and spatial intent — into detailed visualizations.
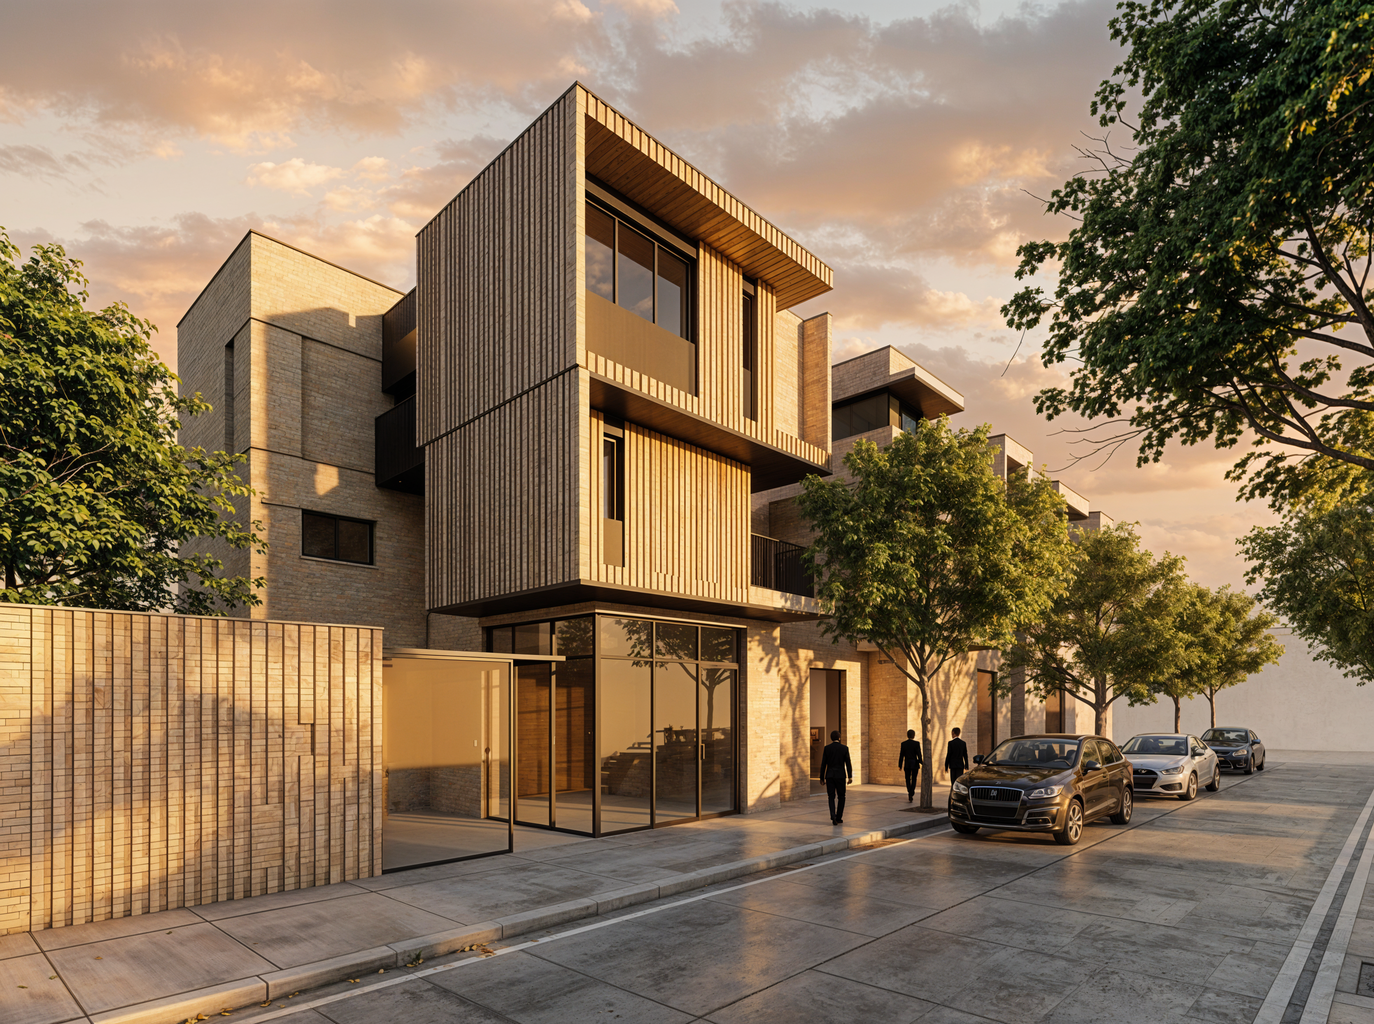
Step by Step
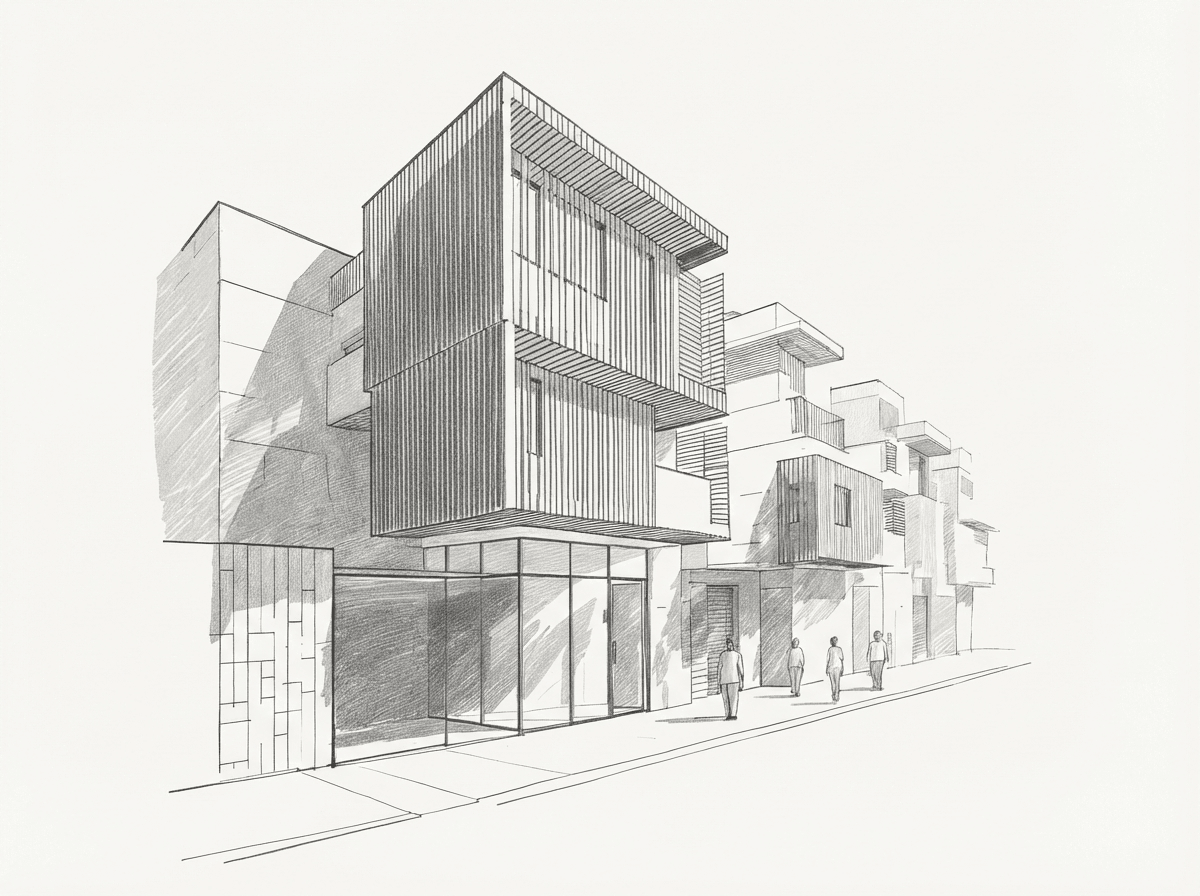
Start with a sketch
Begin with a hand-drawn sketch, pencil study, or simple massing diagram. Upload it to the canvas.
Reference a photograph
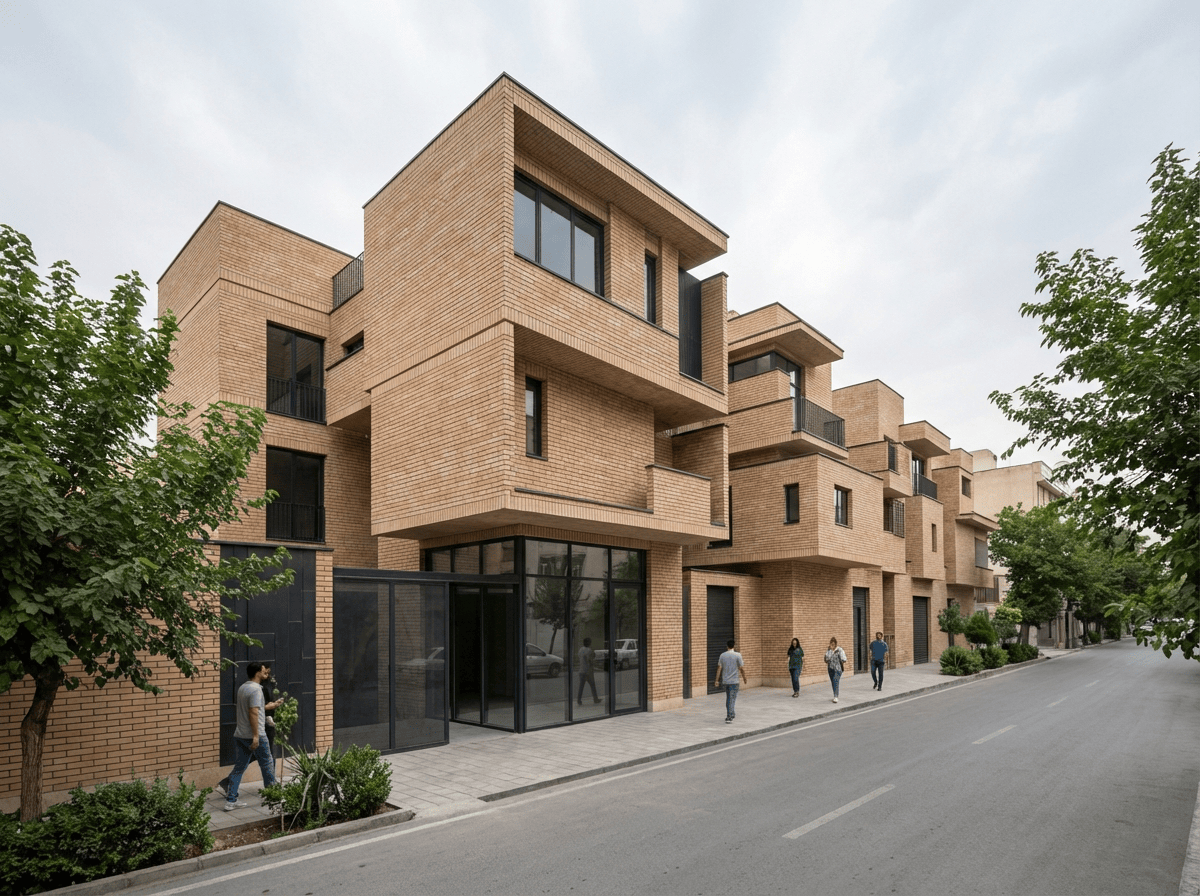
Upload a site photograph or reference image alongside your sketch. This gives Gendo real-world context — materials, streetscape, scale, and lighting conditions — to ground the output.
Generate the render
Gendo combines your sketch and reference into a photorealistic visualisation. The AI applies appropriate materials, context, and atmospheric lighting to bring your concept to life.
See the Render Design guide for details.
Iterate and refine
Use follow-up prompts to adjust specific elements: change materials, shift the time of day, or explore alternative façade treatments. Each iteration builds on the previous.
Get Better Results
Include rough indications of scale in your sketch (a person, a car) for better proportion interpretation
Describe the context (urban, suburban, rural) for appropriate surroundings
Start with overall concept, then refine details in subsequent iterations
Save multiple versions to show clients the evolution of ideas